
The complete guide
Cycling With Your Dog: A Practical Buyer's Guide to Bike Tow Leashes
The problem with a lead in your hand
Anyone who has tried to cycle while holding a dog lead knows the exact moment it goes wrong. The dog spots something. It cuts across your front wheel, or stops dead, and suddenly you are steering with one hand while the other gets yanked backwards. At walking pace that is annoying. At ten or fifteen kilometres an hour it is a crash.
The problem is not the dog. It is physics. A hand-held lead puts all the force of a 30kg animal through your arm and into the handlebars, which is the one part of a bike that must not be disturbed. Every tug becomes a steering input you did not ask for.
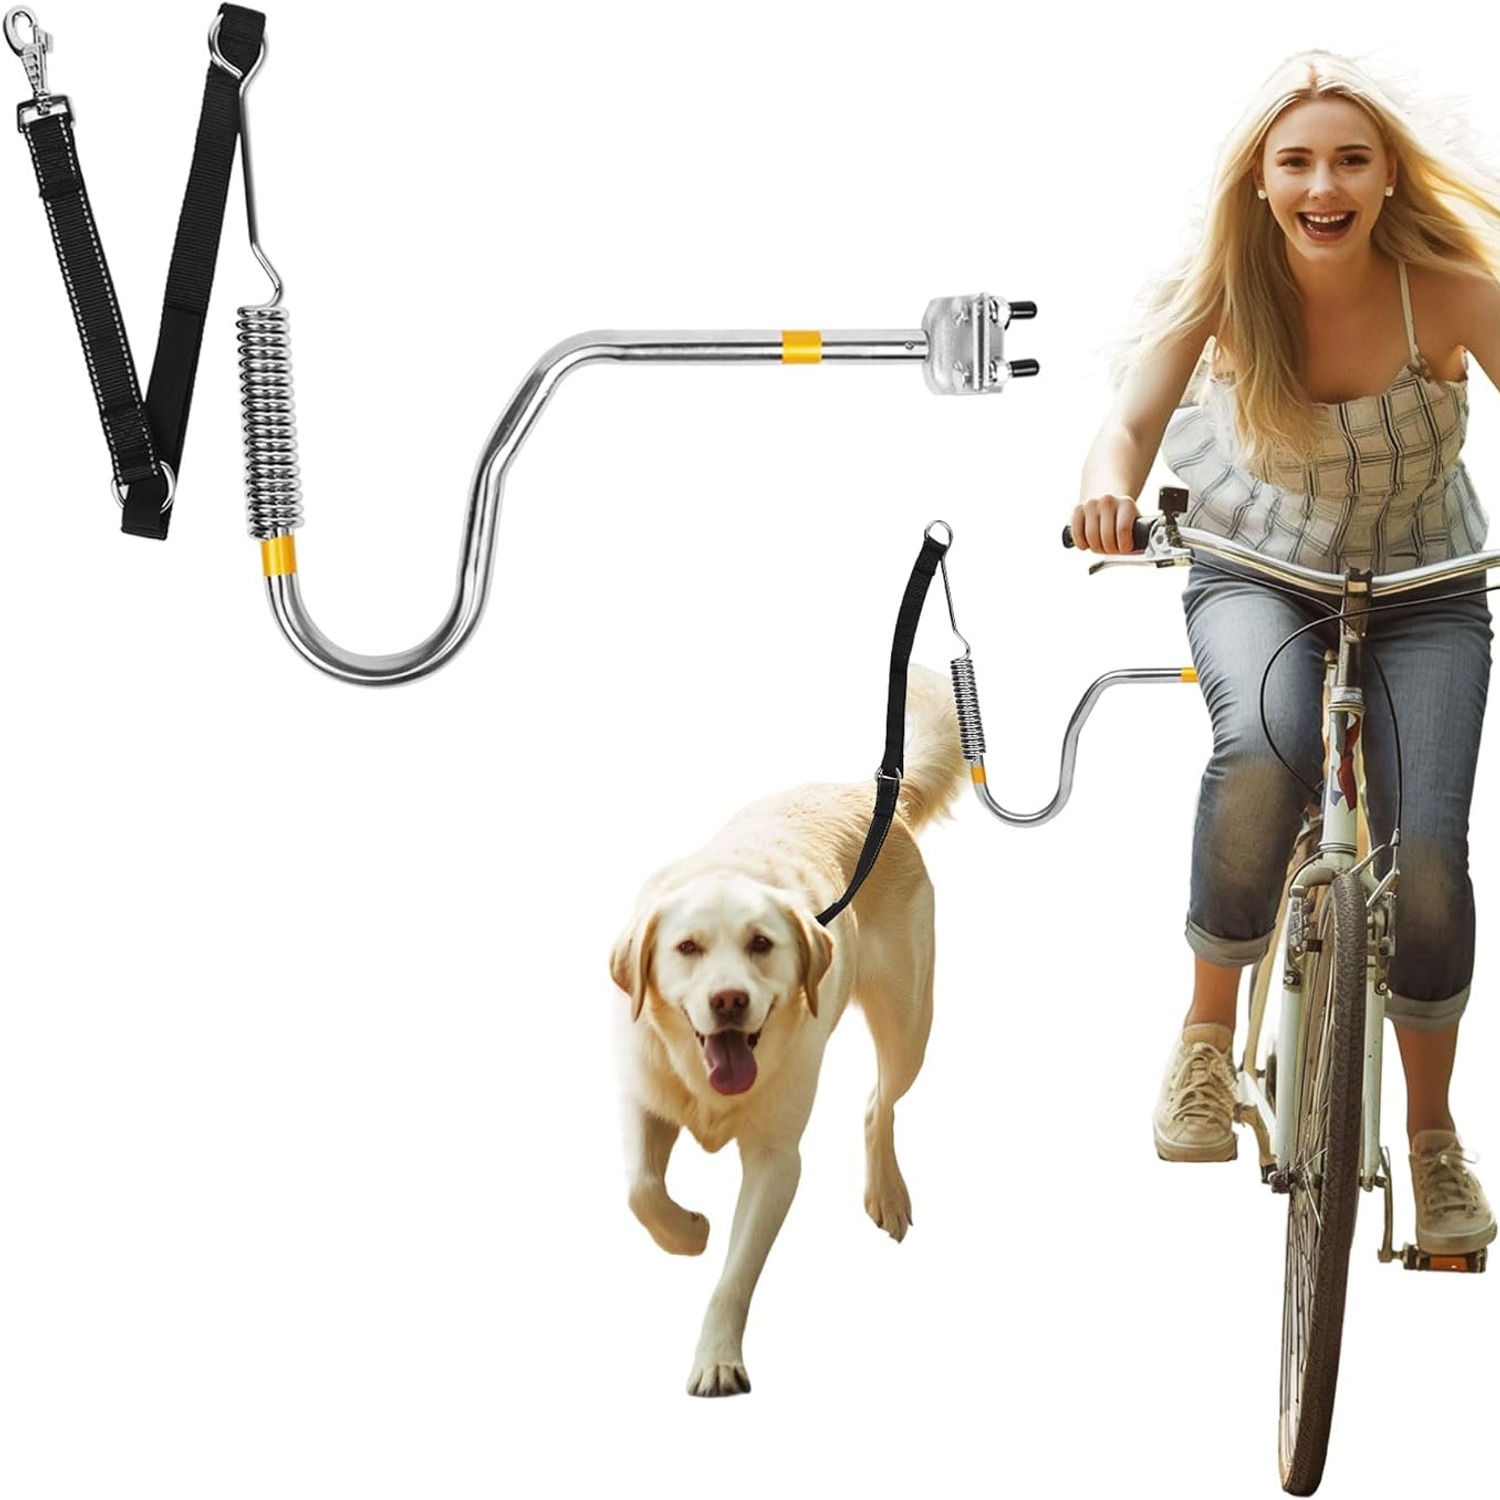
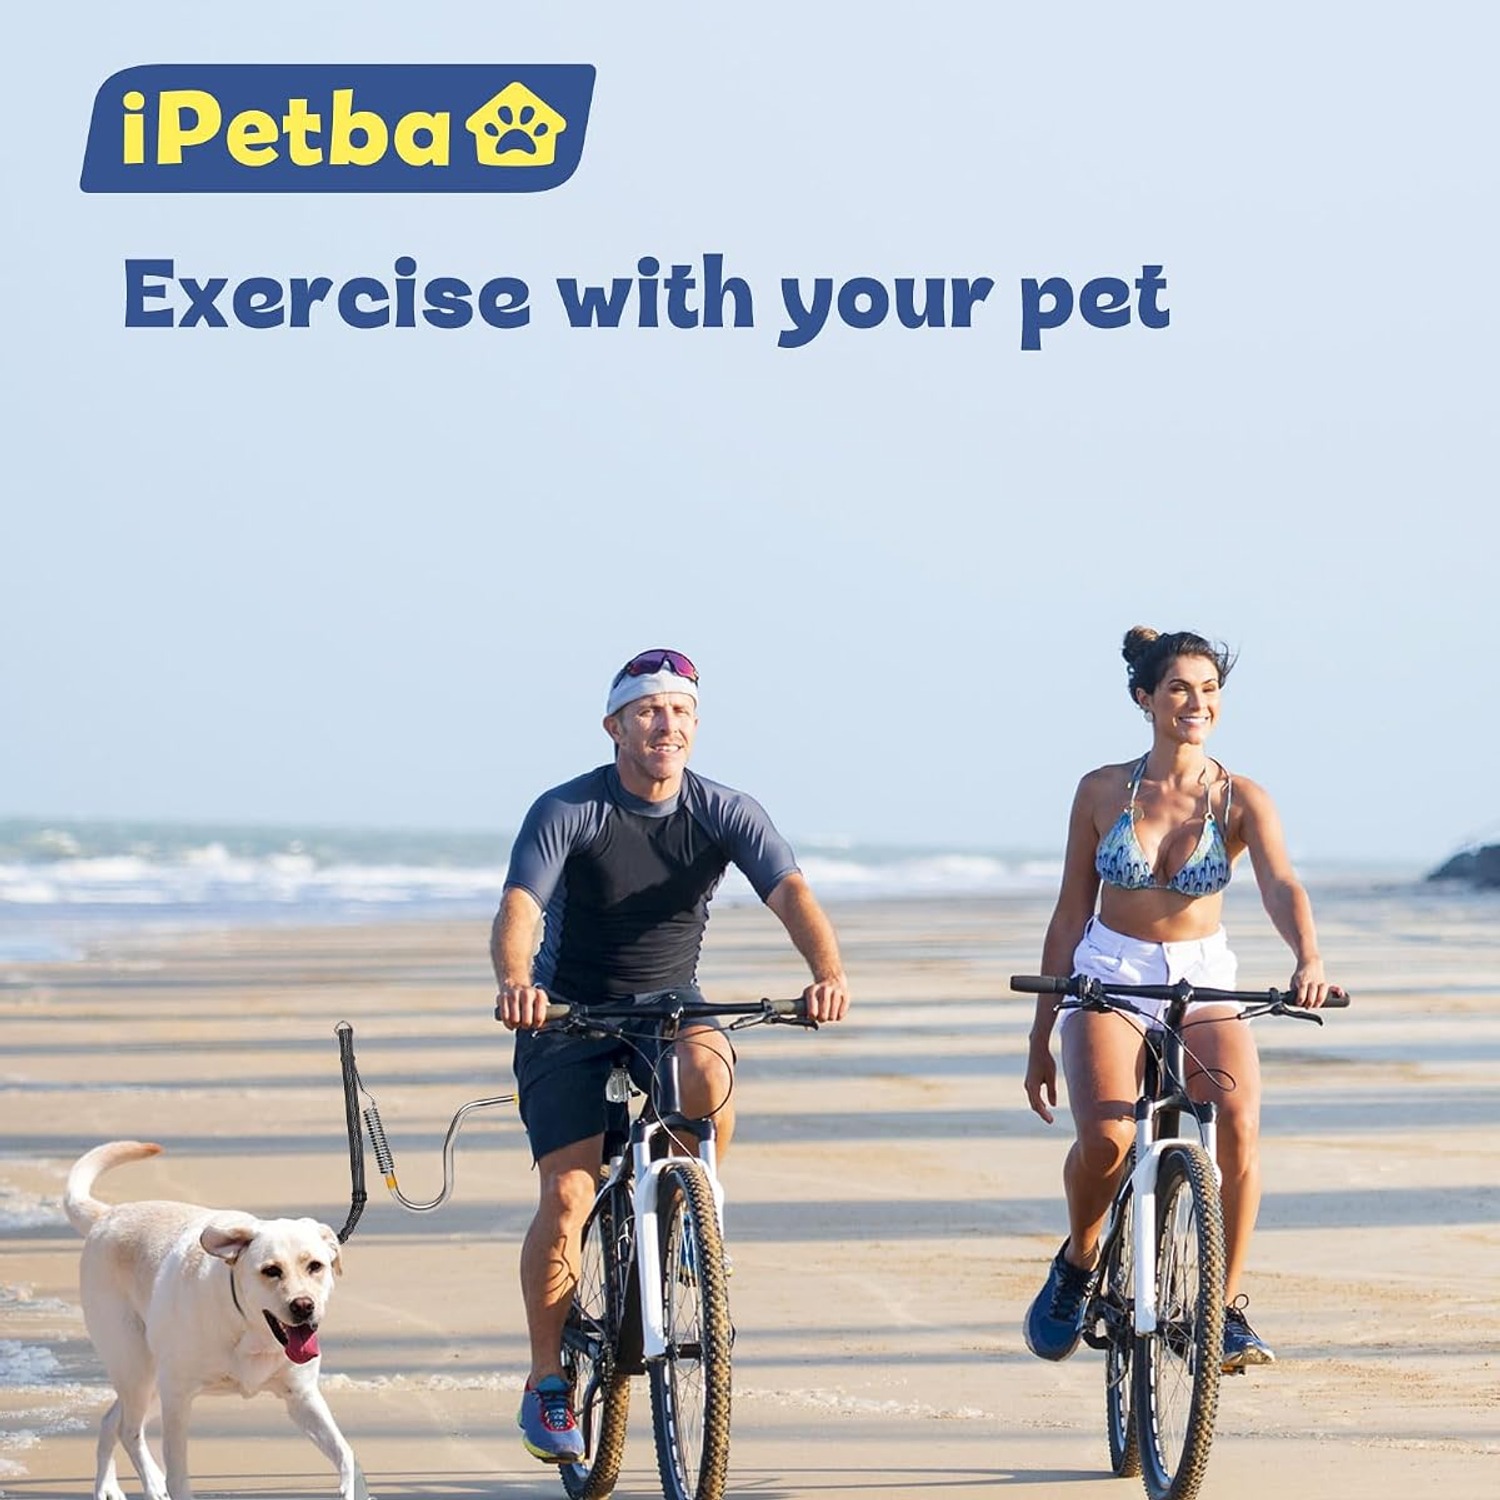
A bike tow dog leash fixes this by taking your hands out of the equation. The lead attaches to a rigid arm bolted to the bike frame, usually under the saddle. Now when the dog pulls, the force goes into the bike's mass, low down and behind you, where it barely affects your line. You keep both hands on the bars and both eyes on the path.
How the high-mounted design works
Not all bike dog leash attachments mount the same way. Some sit low on the frame near the rear axle. Those are cheaper to make, but the lead tends to droop toward the chainstay and pedals, and a drooping lead near a drivetrain is asking for trouble.
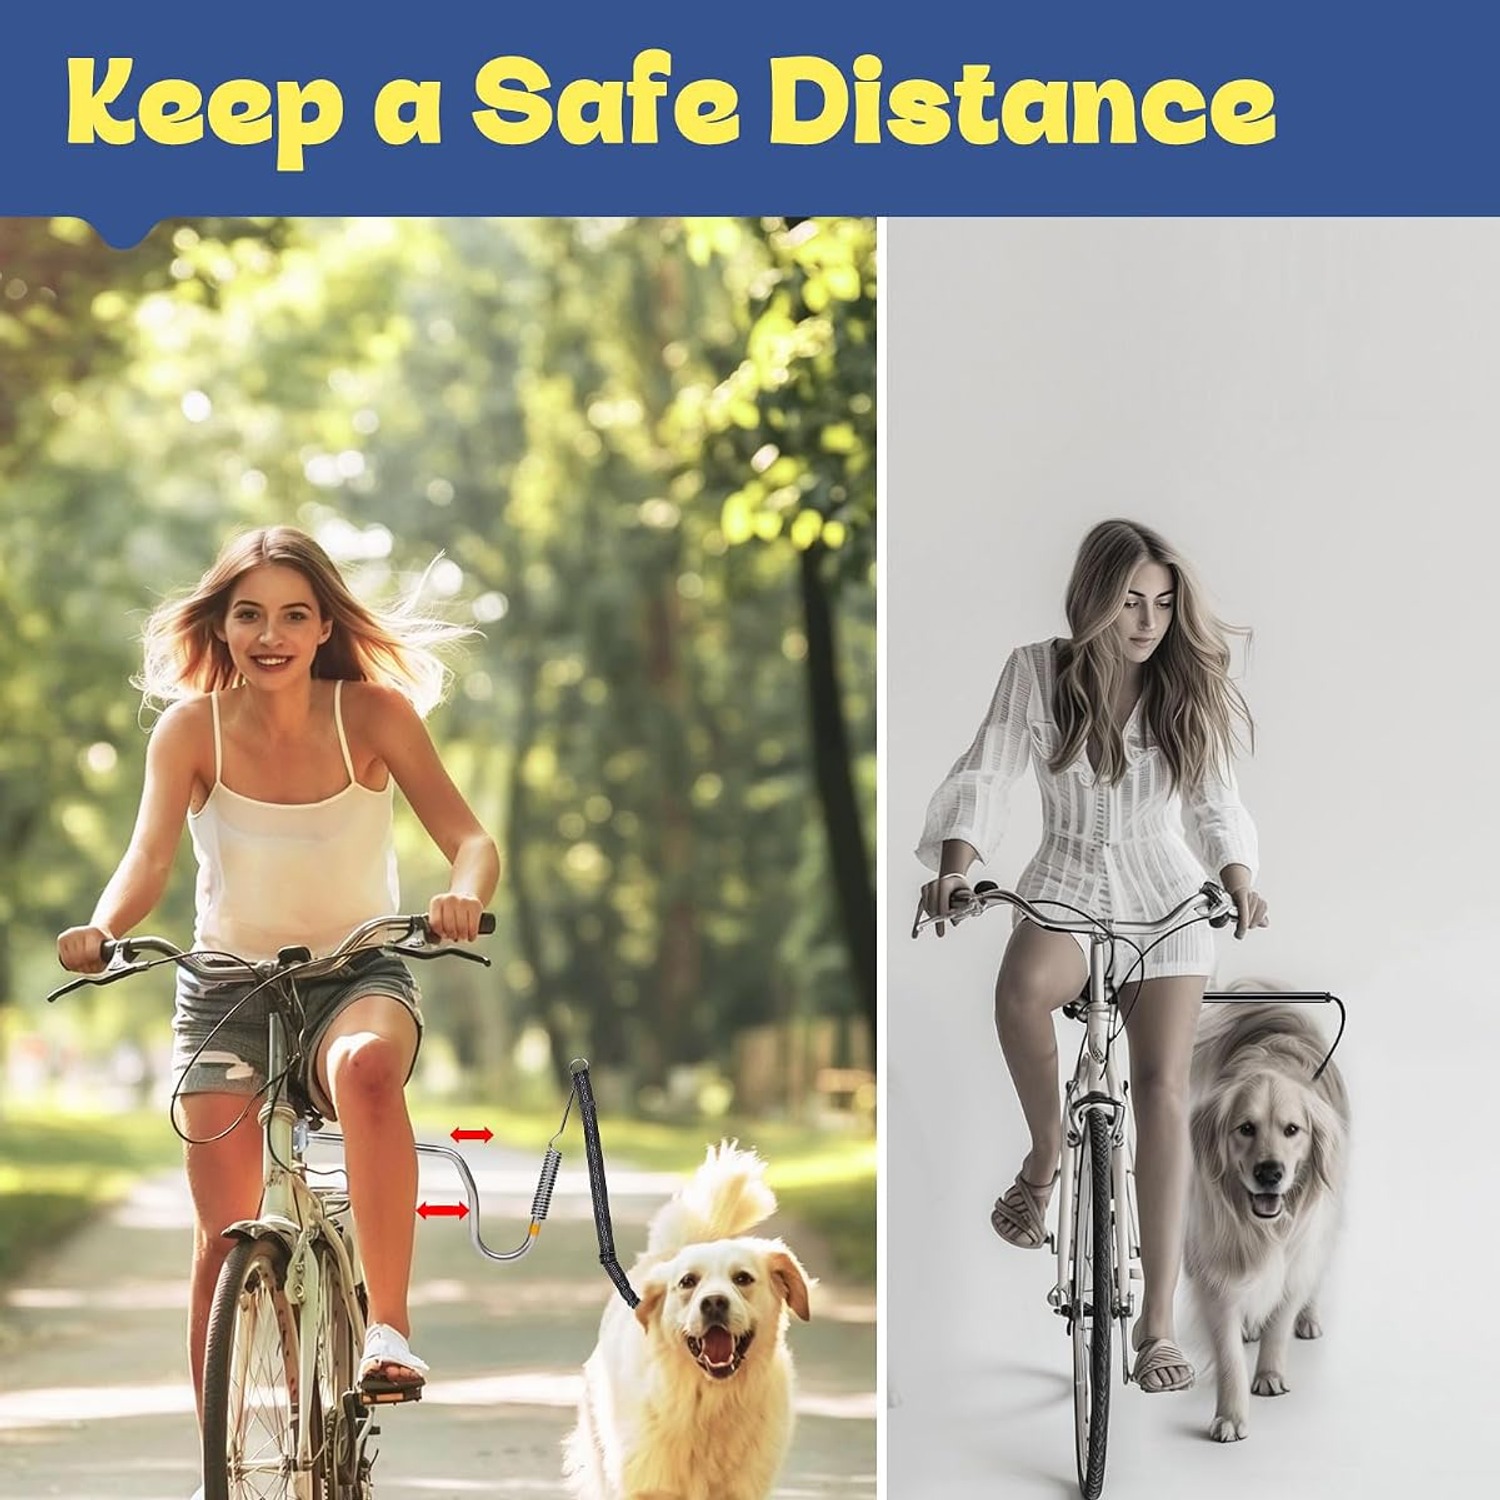
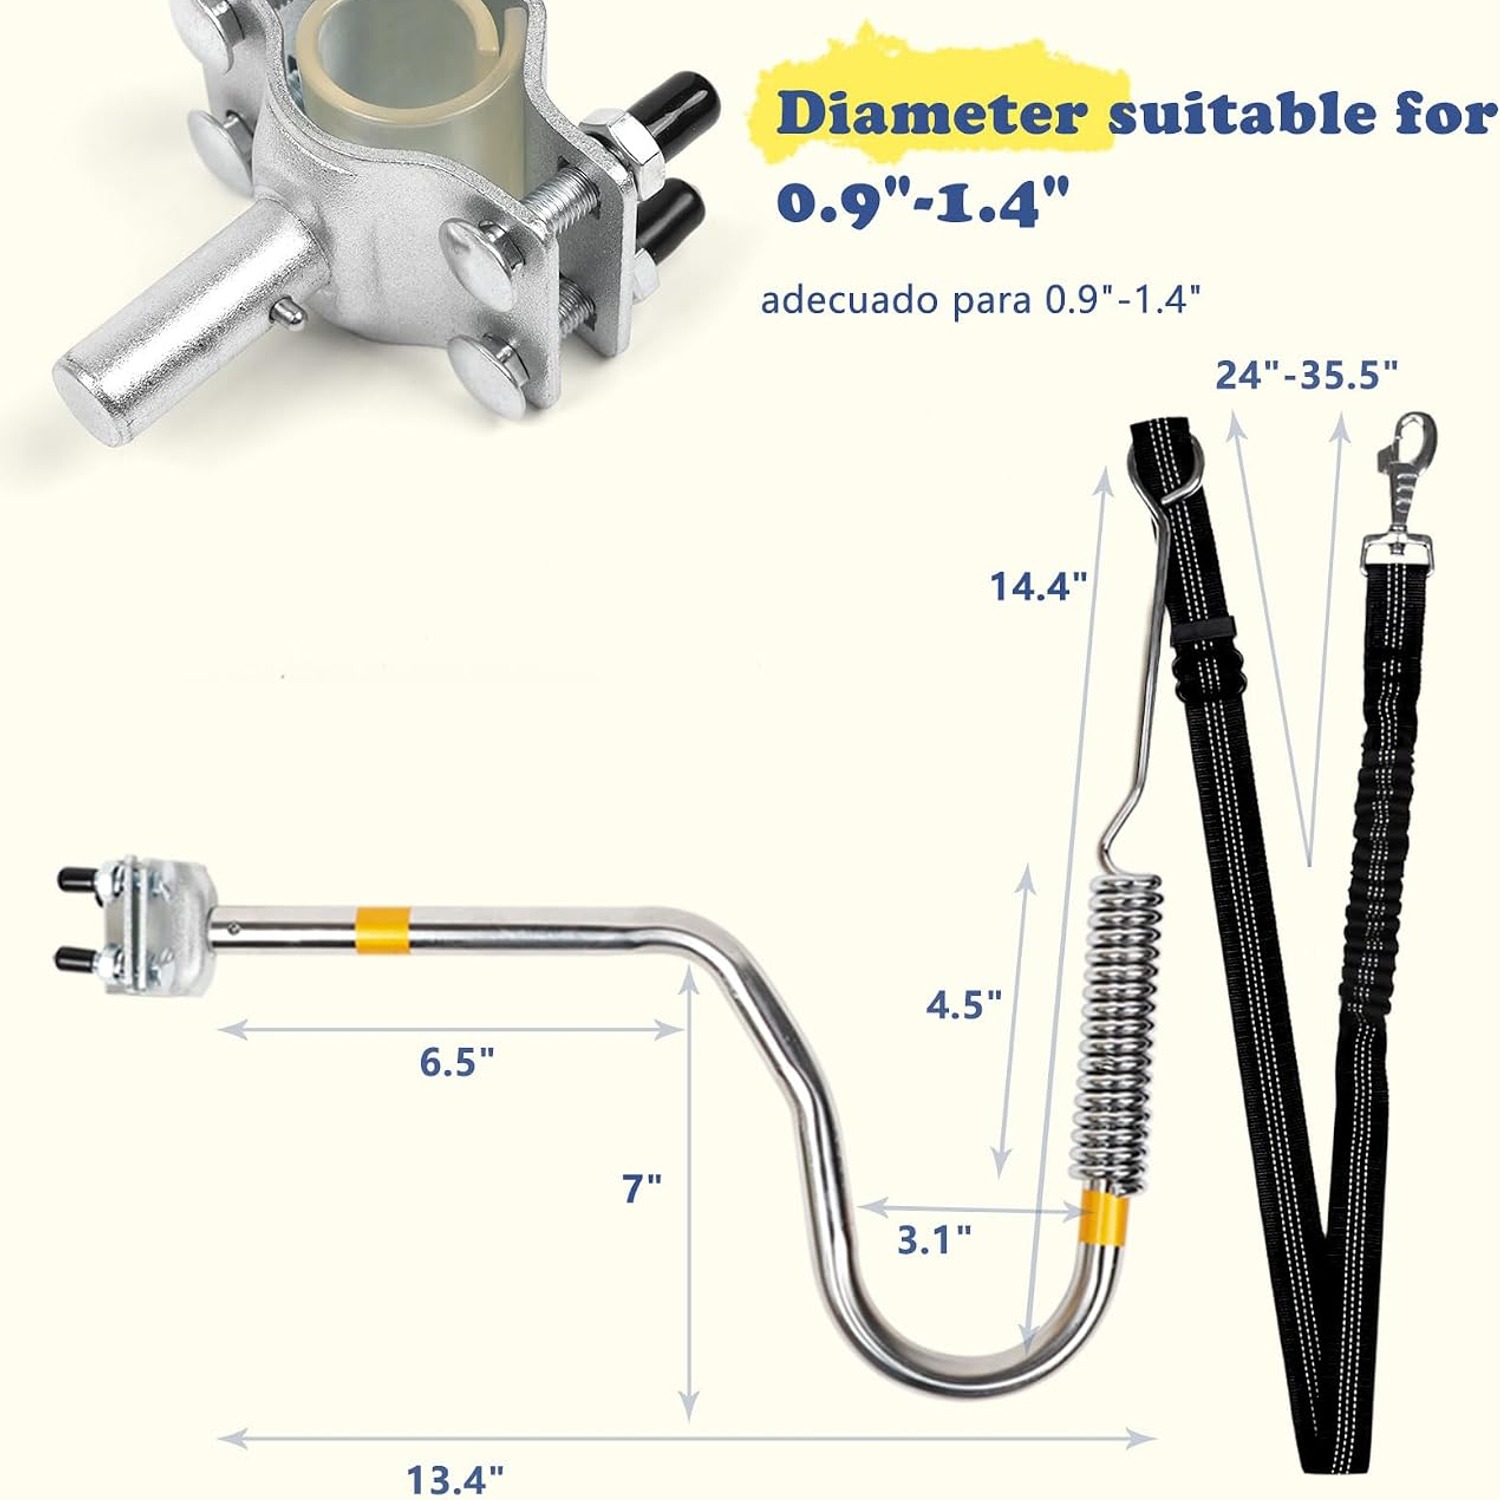
The unit uses a high-mounted arm instead. It clamps onto the seat post under the saddle and holds the lead well above ground level. That elevation does two useful things. It keeps the rope clear of your pedals and spokes, and it gives the dog a consistent corridor to run in, roughly level with your hip and slightly behind the rear wheel.
Dogs learn quickly where that corridor is. Once they understand that the lead holds them in a particular spot relative to the bike, most settle into a steady trot and stop testing the boundary. The predictability is half the reason this style of attachment works.
Why the shock absorber matters
If you only compare one feature between bicycle dog leash attachments, make it this.
Dogs and bikes do not accelerate the same way. Your pace is smooth. A dog's pace is a series of small surges, hesitations and head turns. Without something in between, every one of those becomes a sharp tug.
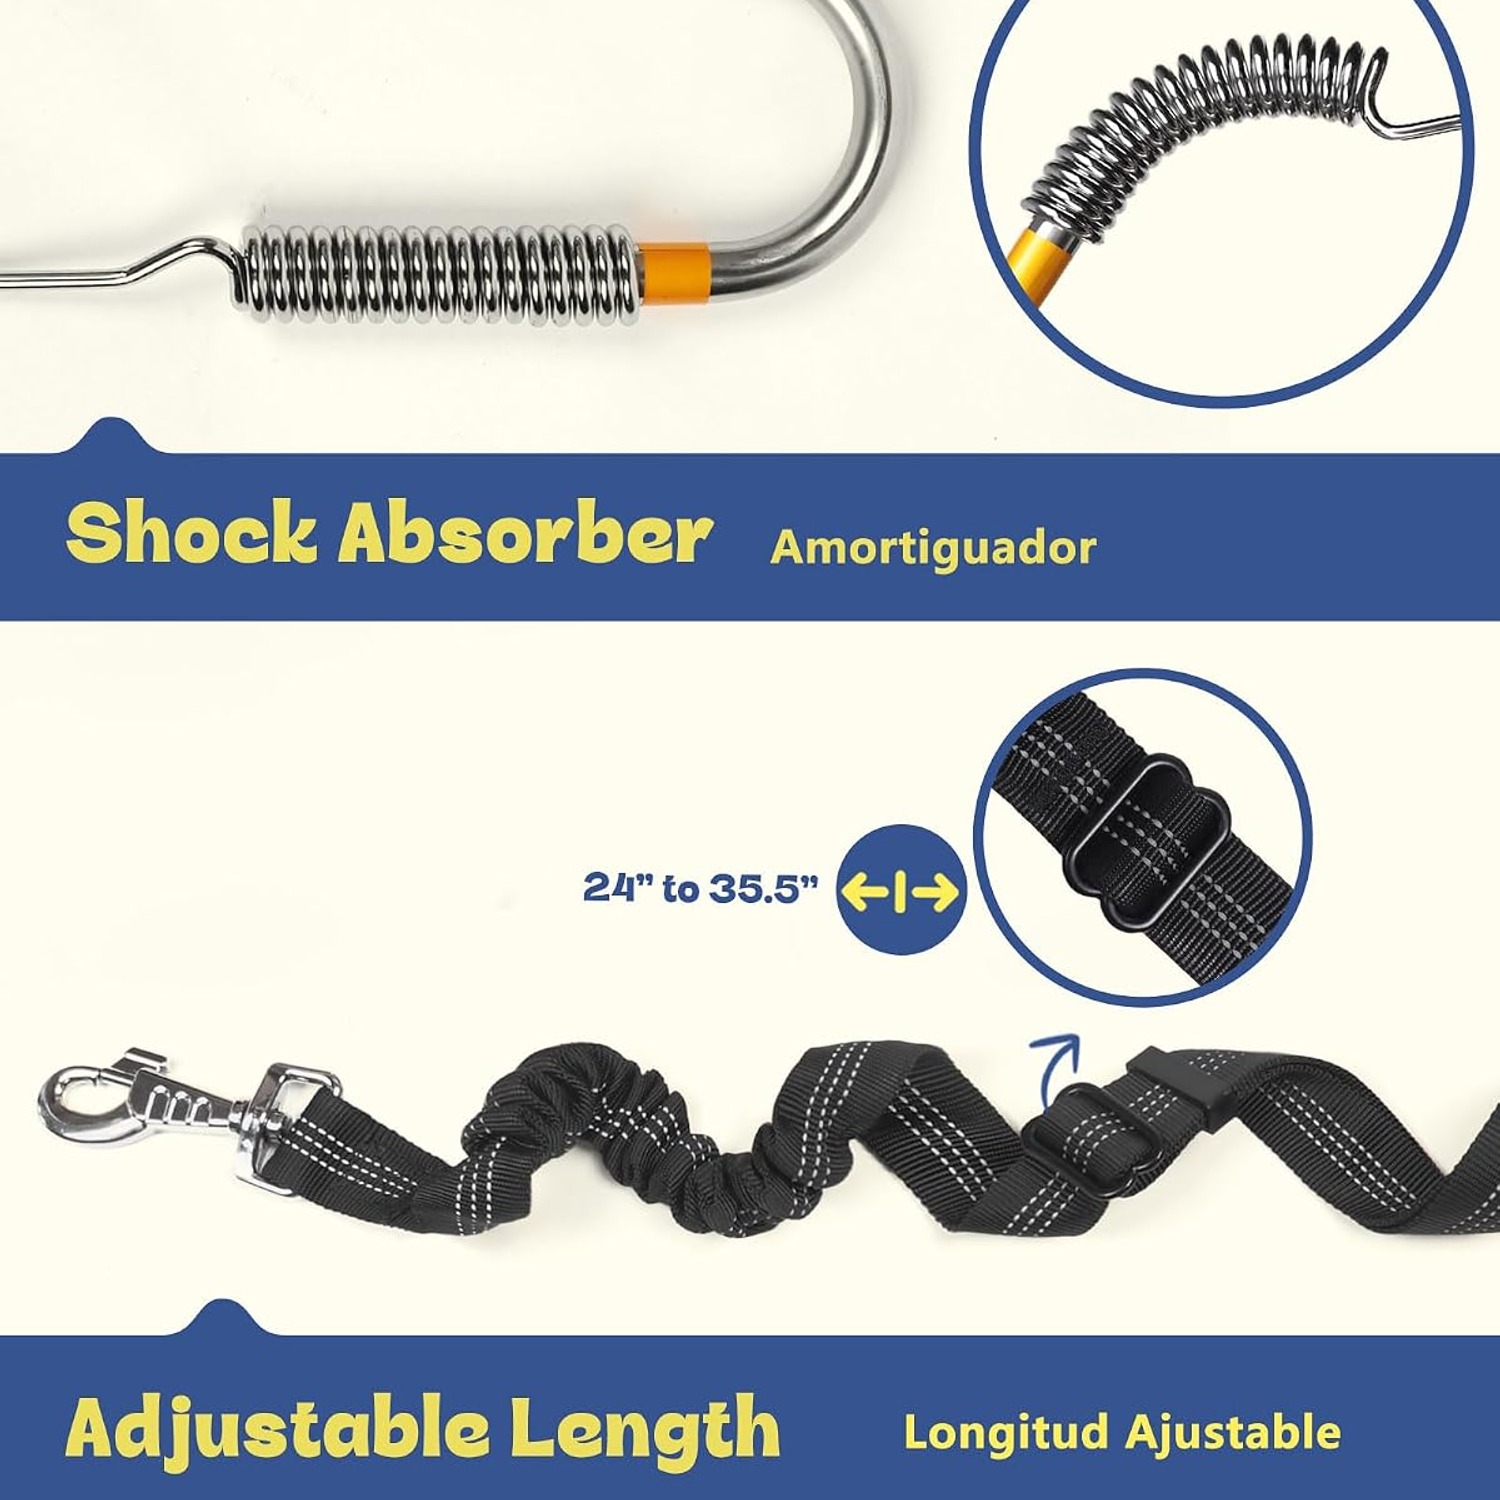
The spring in this unit sits between the steel arm and the nylon lead. When the dog surges, the spring stretches and gives. When the dog slows to sniff, the spring recoils gently rather than snapping the lead taut. You feel a soft nudge instead of a jolt.
It is easier on the dog too. A hard yank travels up the lead into the harness and across the chest and shoulders. Spreading that force over a fraction of a second, which is what a spring does, is noticeably kinder. A shock absorbing dog bike leash is not a luxury feature. For anything over about 15kg it is the thing that makes the whole setup usable.
Who this suits, and who it does not
This leash is rated for dogs up to 50kg and listed for large breeds. That tells you where it sits: it is built for a serious running dog, not a toy breed on a cushion.
Good candidates are fully grown dogs in good shape with sound hips, a natural running gait and the attention span to stay beside a bike. Labradors, pointers, collies, huskies, ridgebacks and most mixed working breeds do well. Dogs that already enjoy running beside you on foot will take to it fastest.
It is not suitable for puppies whose growth plates have not closed, for elderly dogs, for dogs with joint or heart conditions, or for flat-faced breeds that struggle to cool themselves. It also will not help a dog that has never learned to walk beside you without weaving. The manufacturer makes this point plainly in the packaging, and it is worth repeating. Not every dog belongs on the end of a bike leash for large dogs.
If you are not sure, ask your vet before you start. A short conversation now is cheaper than a lameness consultation later.
Fitting and setting up
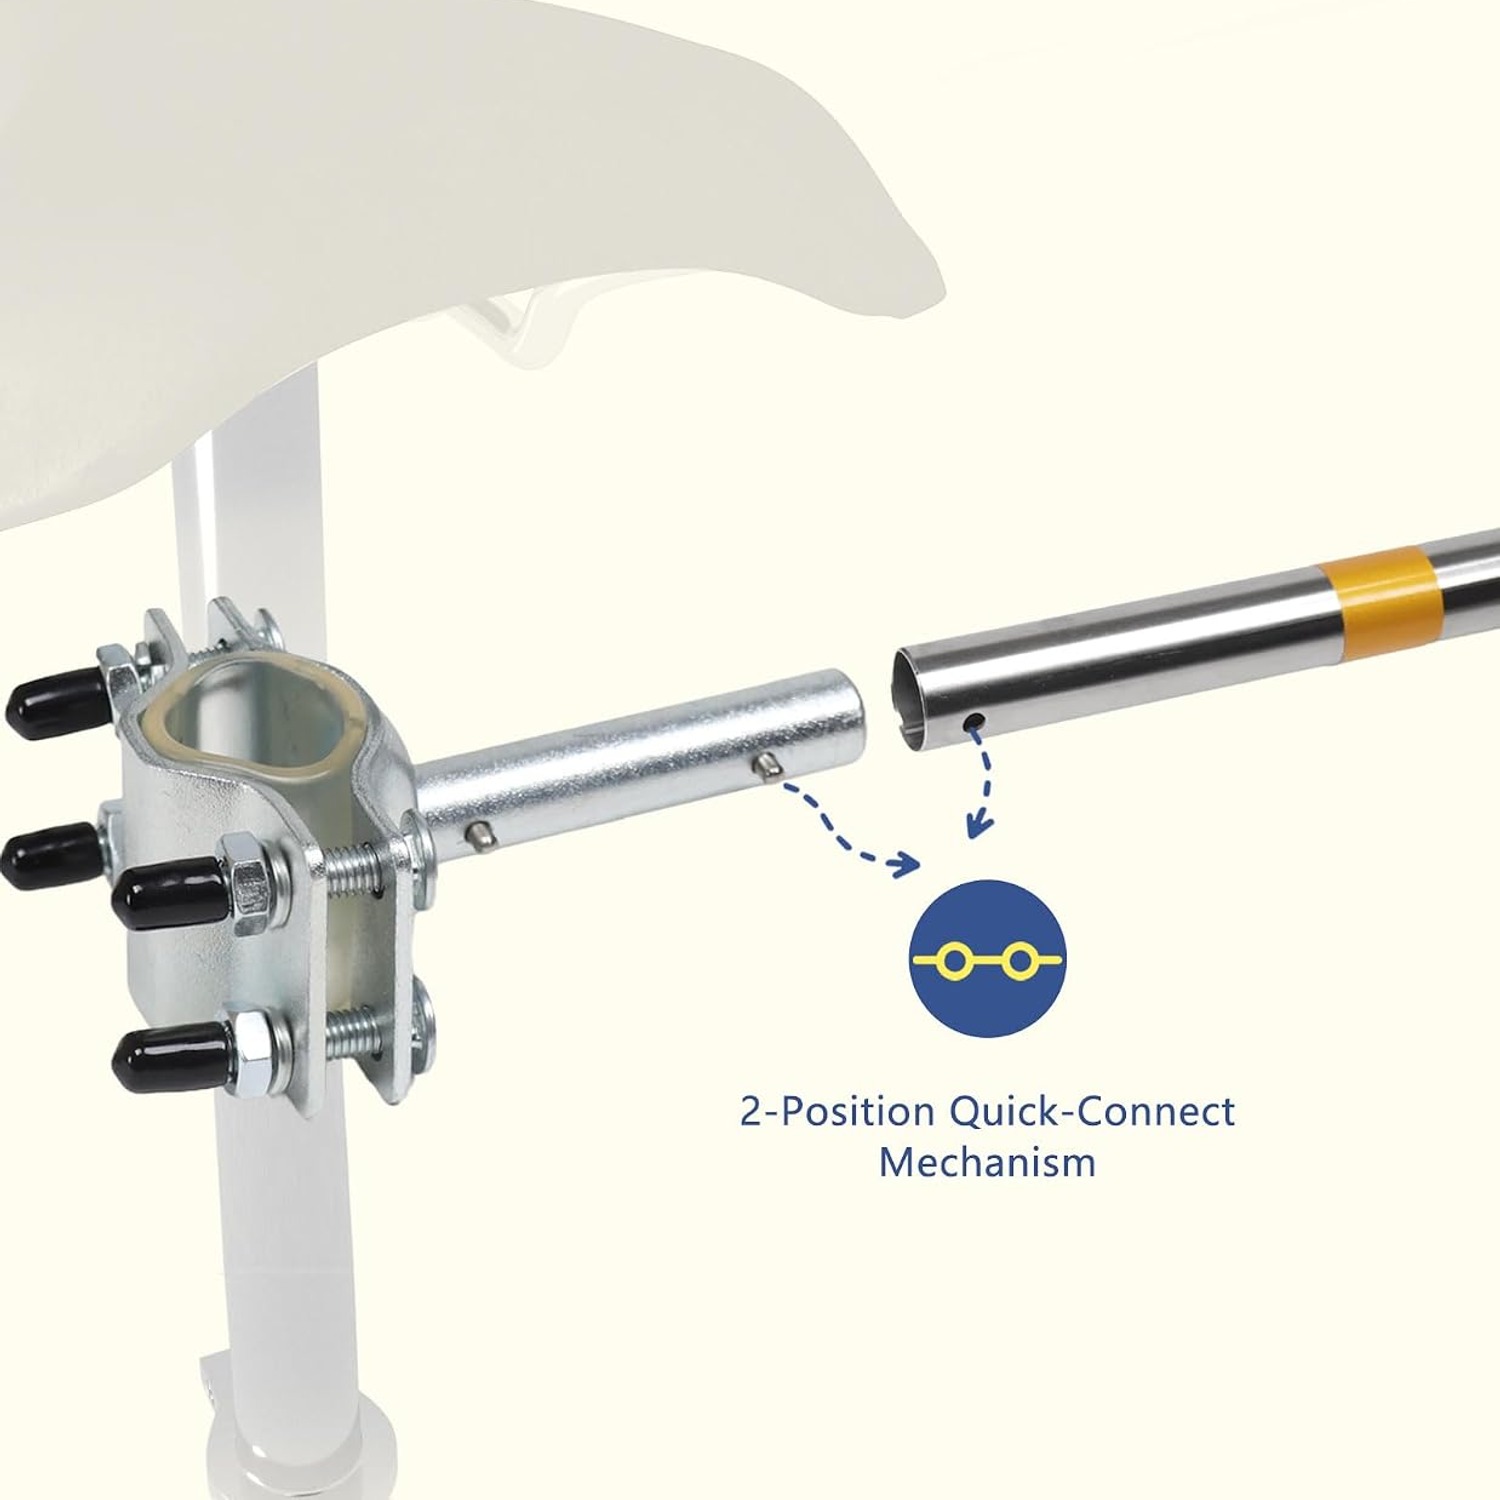
Installation takes about ten minutes. The clamp goes on the seat post under the saddle and tightens with the supplied wrench. The spring attaches to the arm, the lead clips to the spring, and the far end clips to your dog's harness.
You can mount it on either side, which is more useful than it first appears. Set it up so the dog runs on the kerb side rather than the traffic side, whichever that is where you live.
The lead length adjusts. Start short. A shorter setting gives you tighter control while your dog is learning, and you can let it out once you both have the hang of it. Many riders settle on a short setting for roads and a longer one for open trails.
One more thing on setup: use a harness, never a collar. All the force at bike speed should go through a padded chest harness that spreads the load. Clipping a bike attachment to a neck collar is genuinely dangerous.
Teaching the dog
Do not start by riding. Start by walking the bike with the lead attached. Let your dog work out that the bike is the thing it is now connected to, and that there is a comfortable place to stand beside it.
Next, ride very slowly in an empty car park or a quiet field. Keep sessions to a few minutes and stop while the dog is still enjoying it. Reward the dog for holding position.
Then go somewhere flat and quiet for a short first outing, a kilometre or so. Build from there over a few weeks. Paws need time to toughen up just as much as lungs need time to adapt.
Pick your surface carefully. Grass, dirt and packed gravel are much kinder on pads than tarmac, and tarmac in summer can get hot enough to burn. Early morning and evening rides are safer in warm weather. Carry water.
Materials and durability
The body is stainless steel, which gives the arm the stiffness it needs to hold a large dog out to one side without flexing or wobbling. The lead is a high-strength nylon rope, which the manufacturer rates to withstand pulls of around 1,000 lbs. The closure is a buckle. The finish is silver, and the whole unit ships at 0.91 kg.
In practice, the steel and the rope are rarely the weak link. The weak link is usually the harness, the clip, or a clamp that has quietly worked loose. Build a habit of a ten-second check before every ride: squeeze the clamp, look at the rope for fraying, pull the spring to see it has its tension.
Maintenance is simple. Rinse the nylon in cool water after muddy rides and let it air dry out of direct heat. Wipe the steel and spring dry after wet or salty rides. Stainless resists rust well, but grit in a spring will wear it faster than anything else.
The short version
A bike tow dog leash moves the lead off your hands and onto the bike, which is where it belongs. The high-mounted arm here keeps the rope clear of your pedals, the spring absorbs the pulls that would otherwise knock you off line, and the adjustable length lets you tune how much room your dog gets.
It is built for dogs up to 50kg in stainless steel and nylon, it fits most bikes on either side, and the wrench and manual are in the box. Fit it properly, use a chest harness, start slow and pick soft surfaces.
Do that, and riding with your dog stops being a stressful experiment and turns into the part of the day you both look forward to.